SMARTERS PRO APP
1- SELECT LOGIN WITH XTREAM API
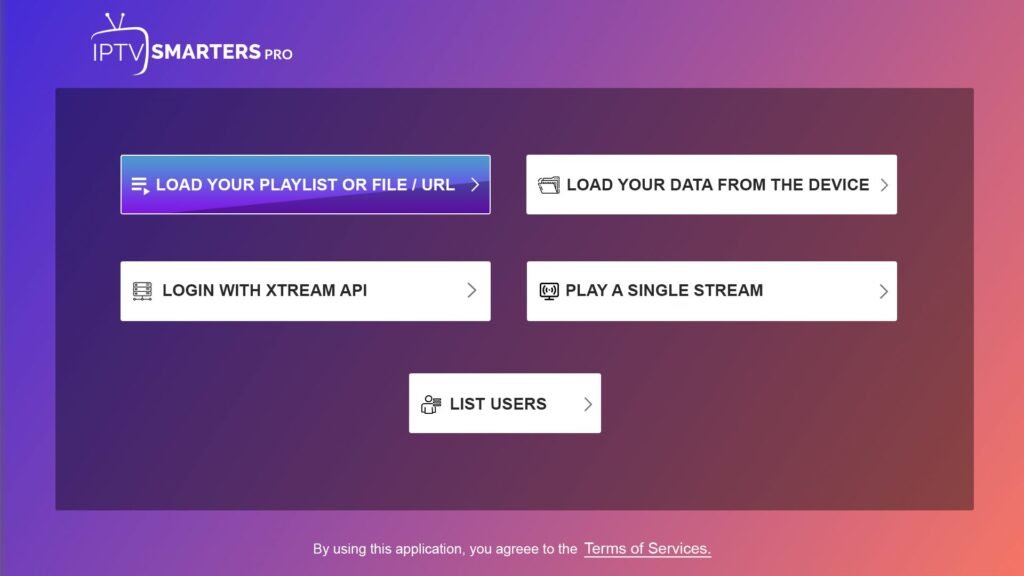
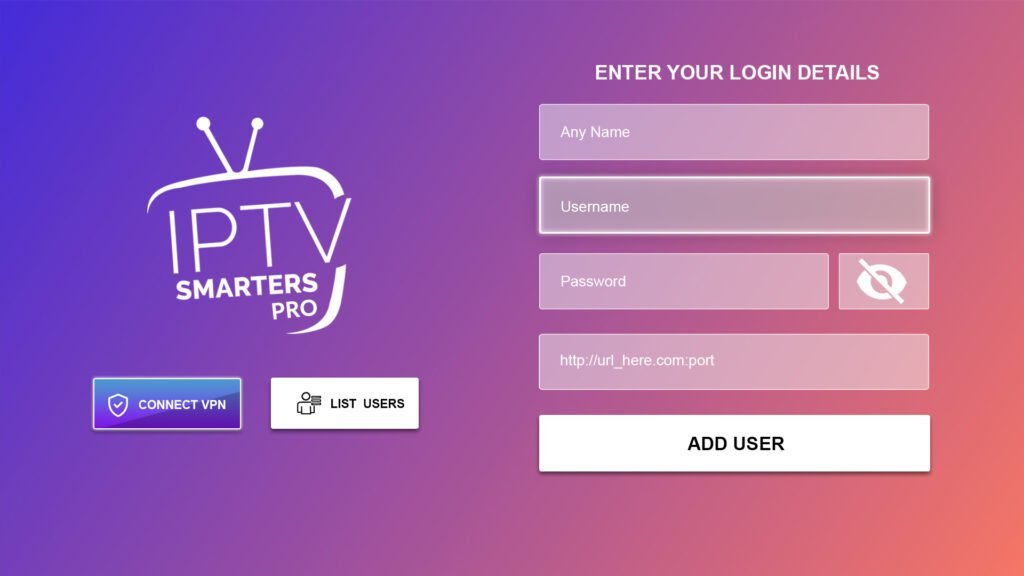
2- ENTER YOUR LOGIN INFO USER& PASSWORD & URL
Smart tv samsung , LG and Apple tv
Just type IPTV SMARTERS on your samsung , LG or Apple TV app store
1- SELECT LOGIN WITH XTREAM API
2- ENTER YOUR LOGIN INFO USER& PASSWORD & URL
Just type IPTV SMARTERS on your samsung , LG or Apple TV app store